Presentation
Video
Create an Advanced App
 SerenityUX
You didn't know it, but you've been riding a bike with training wheels. It's time we take off those training wheels and let you ride into the wind...
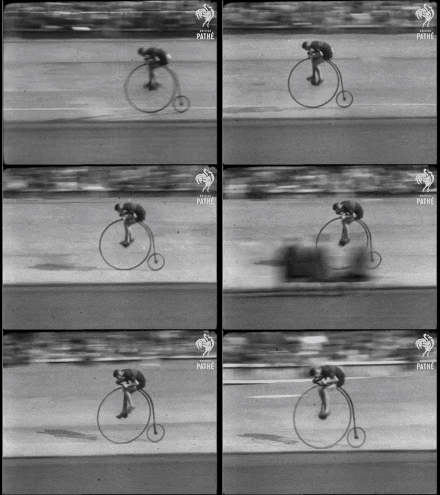
Today you're going to be building an app for your personalOS and you'll be given pretty little guidance. YOU GET TO DECIDE THE CONTENT AND FEATURES FOR THIS APP. You're probably a bit nervous.
Don't worry, I'll be riding alongside you. I also don't know what app I am going to build. Fear not young one, we'll figure it out together. Be brave. You've been so brave up to this point and I am so proud of what you've built. Here's what I built, but I assure you that your final product will be nothing like this:
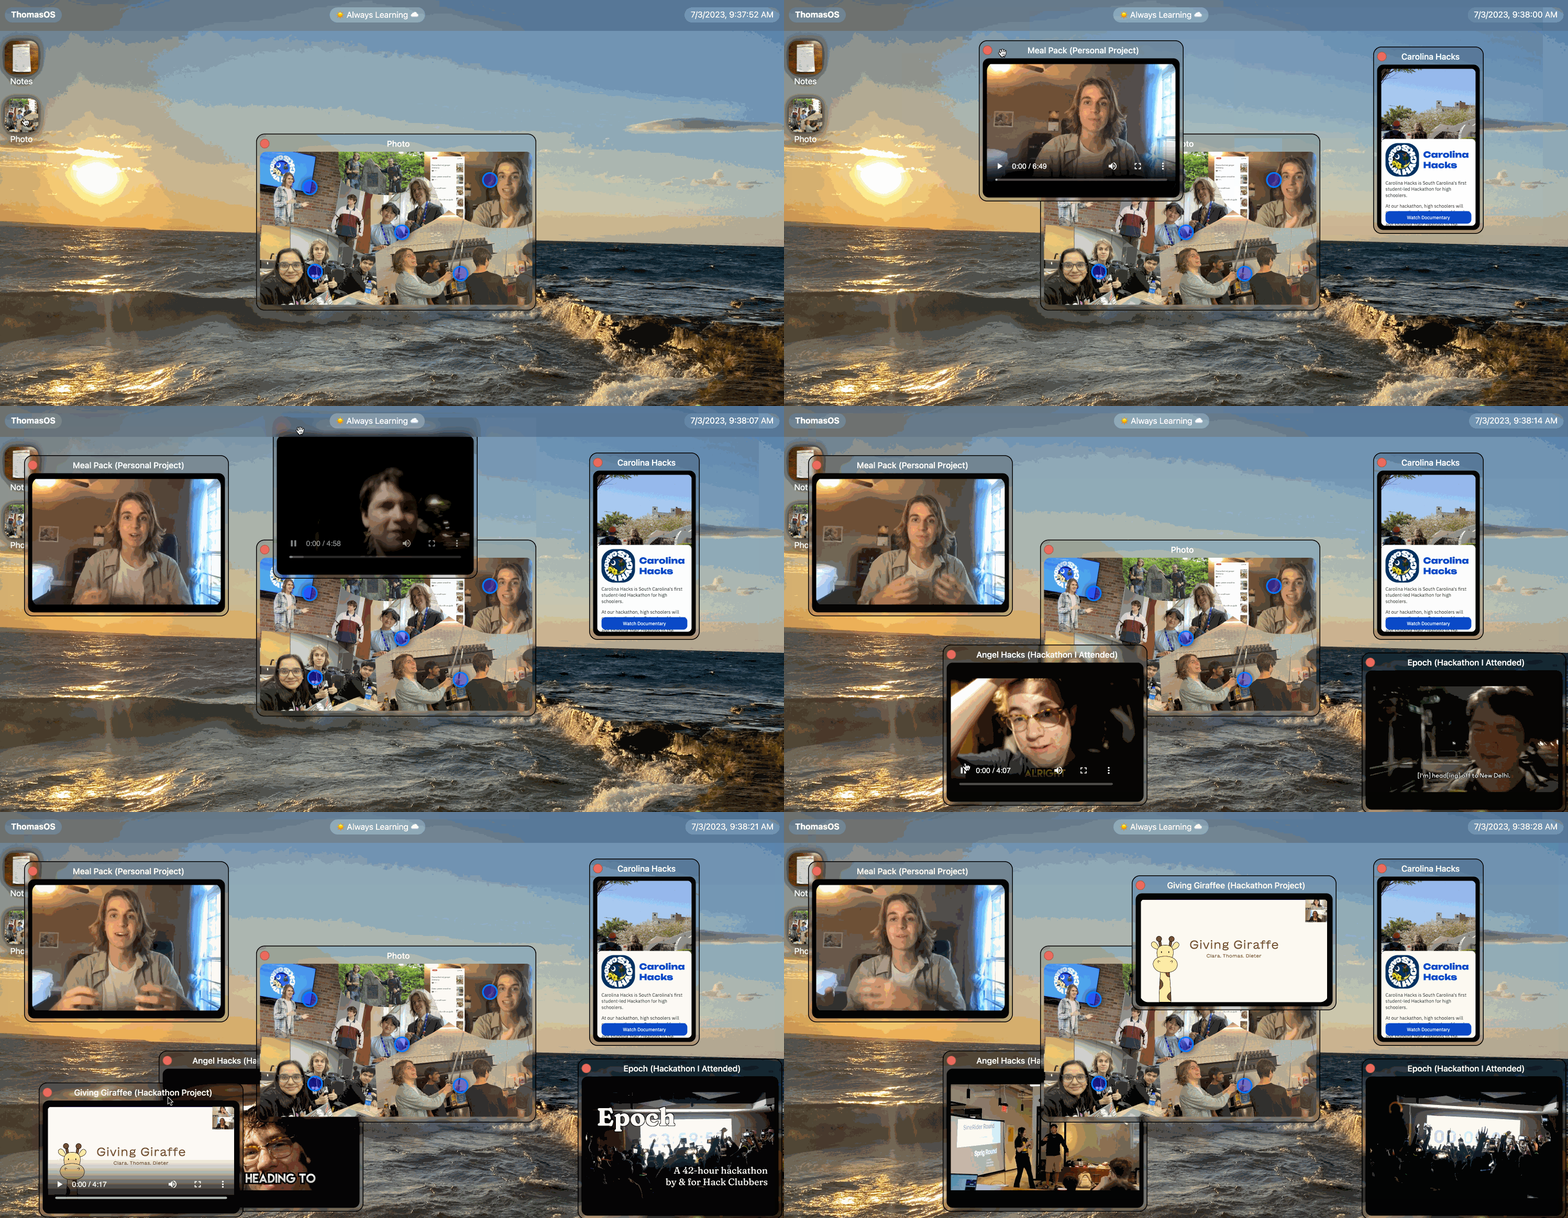
Make sure you have some paper! Let's do this!
Outline:
- Ideation (figure out what we're going to build)
- Wireframe (make some sketches)
- Build Your App (build an awesome app for our OS)
Ideation
You finally get to create your own app. It could be an app to do whatever you'd like! Here are some ideas (but I encourage you to come up with your own ideas):
- Contact App (helps people get in contact w/ you)
- Projects App (shows all projects you've been)
- Map App (shows your life story on a map)
- Weather App (shows your local weather?)
Brainstorming on Paper
Let's begin by mind mapping on paper for ten minutes!
What is Mind Mapping?
A mind map is basically a visualization of a bunch of your ideas. It helps you be creative and explore ideas that would have otherwise never surfaced.
A question/prompt in the center of the map will provide us with some degree of direction and ideas will radiate from the center of our sheet.
I found this example for you by browsing the internet:
 image from an IDEO article about Mind Maps
Your Mind Map doesn't have to be quite as big and crazy. Let's put in the center of our sheet of paper "What do I want people who visit my site to walk away knowing about me?."
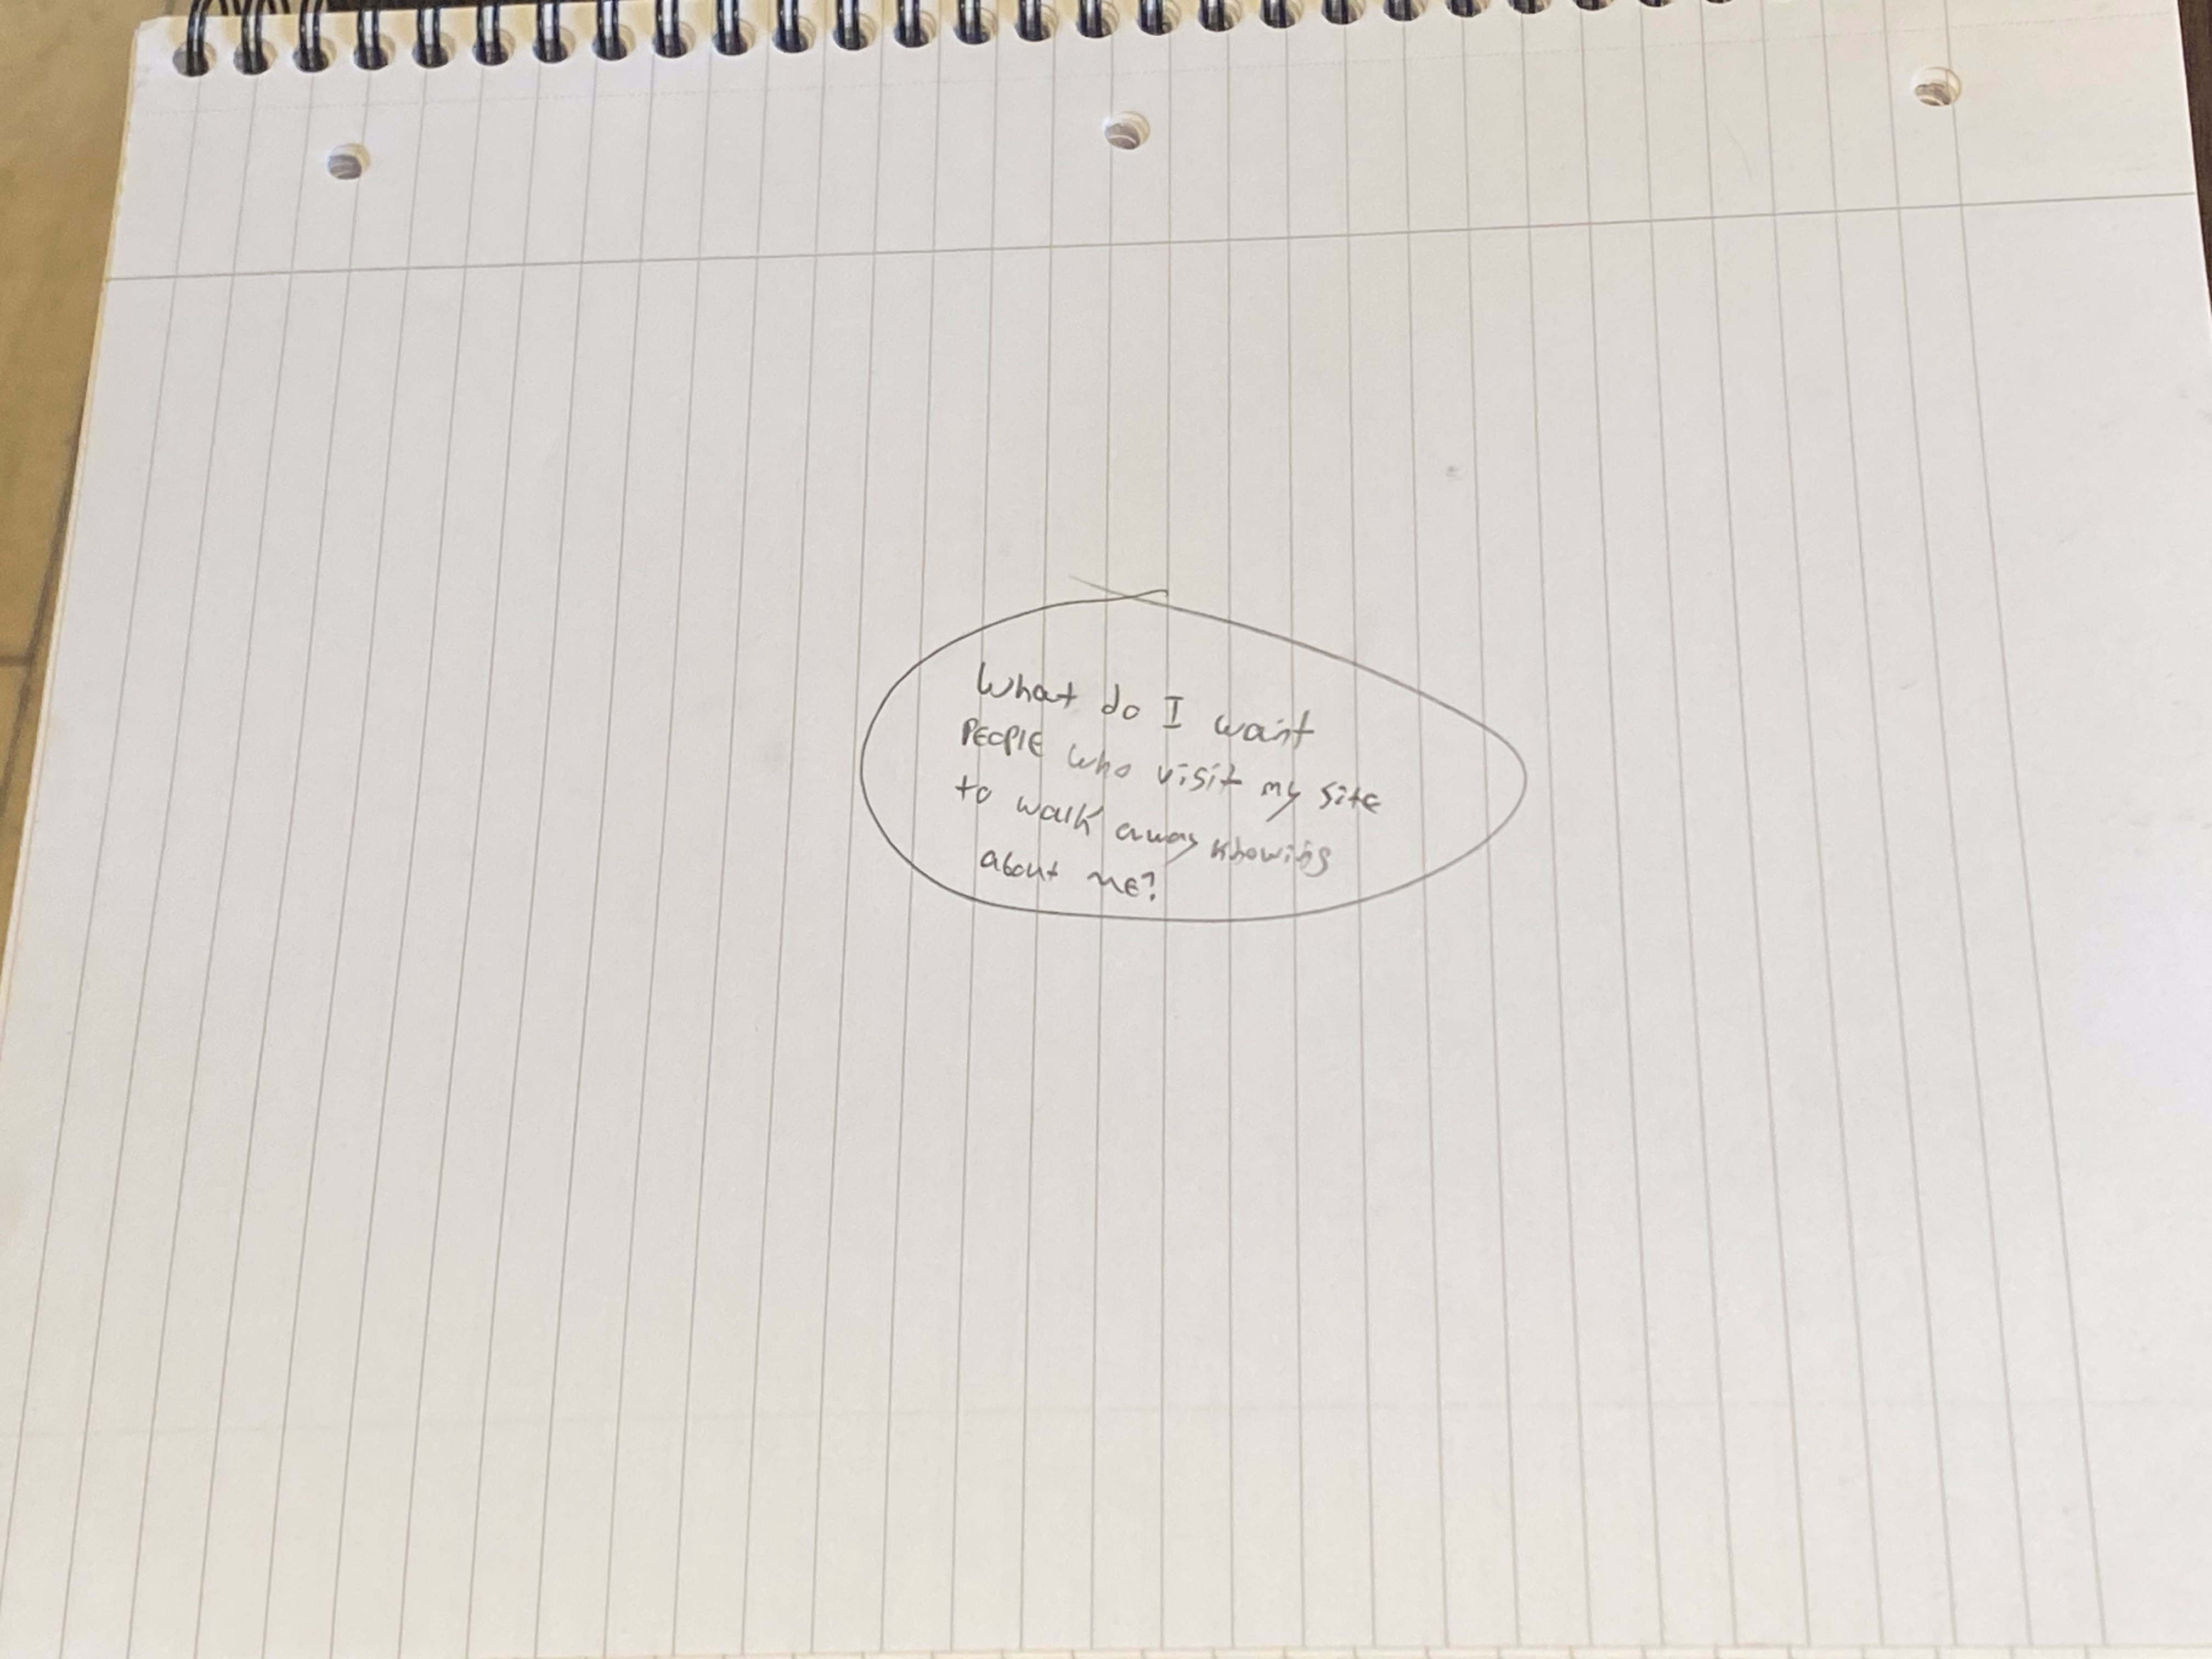
When an answer comes to mind, draw it around the circle and then connect it to the center. Write down as many ideas as possible
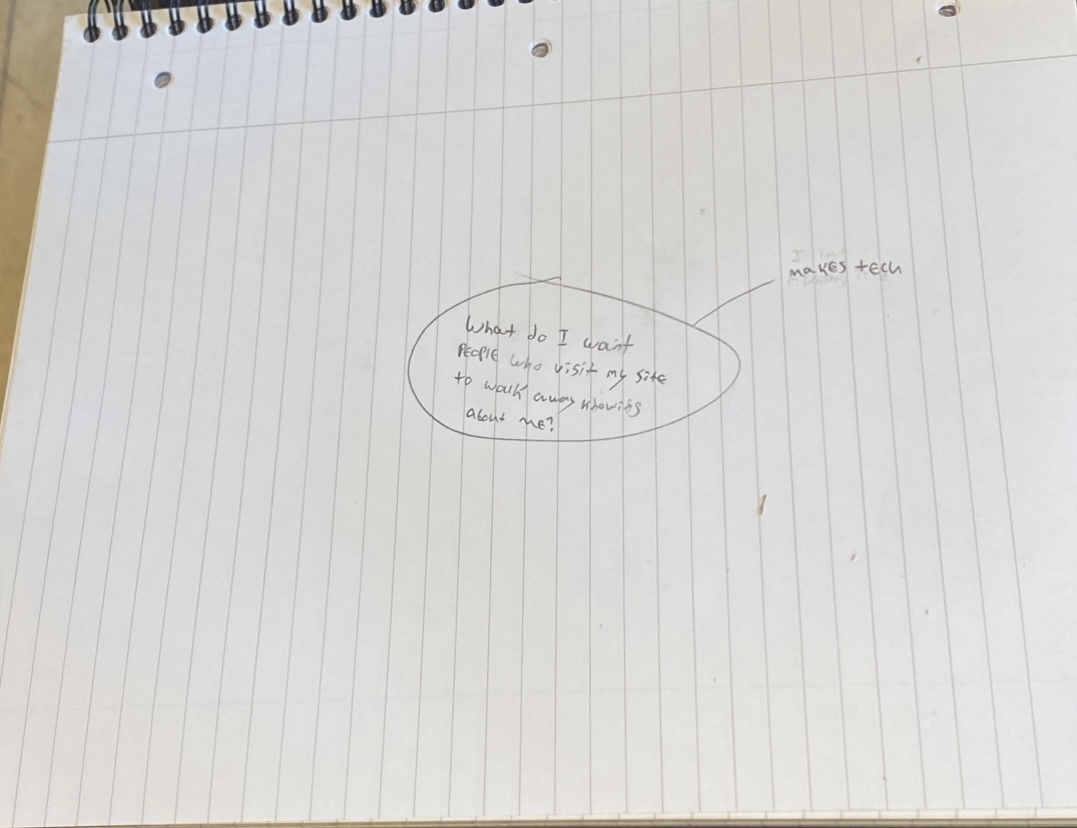
Create a string of ideas & be sure to go for quantity over quality (no idea is too crazy for the mind map)
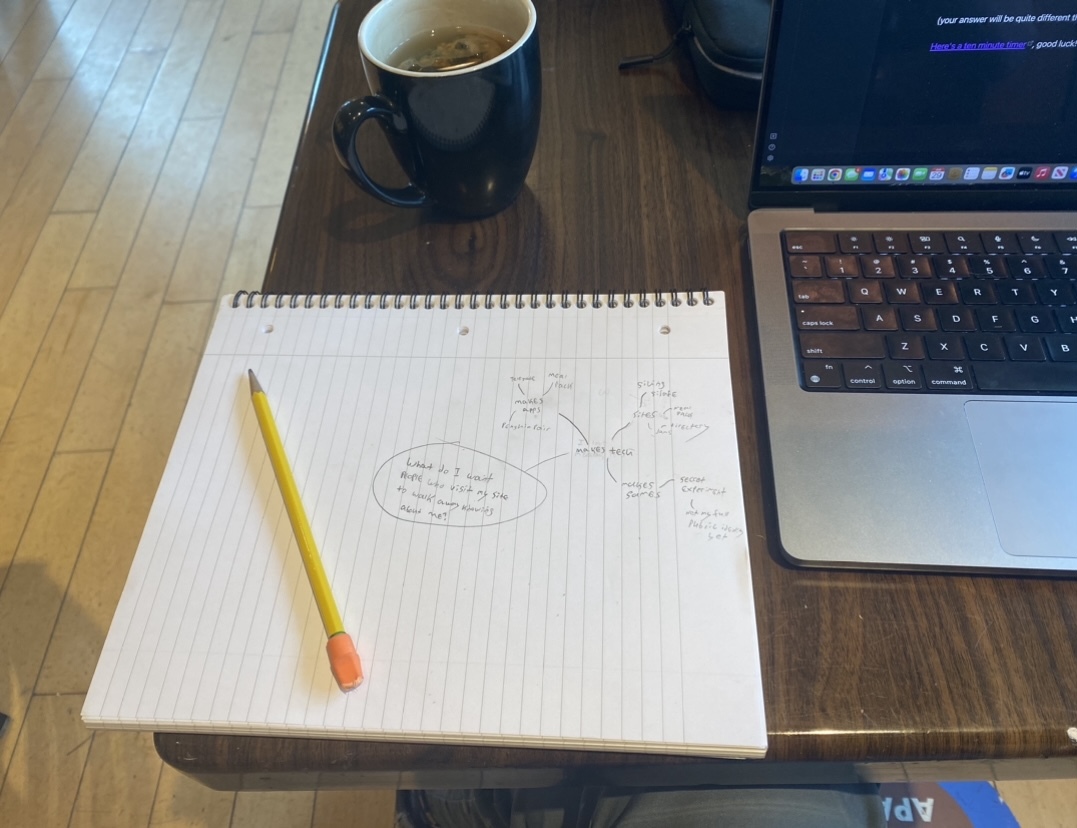
& then go wild with it!
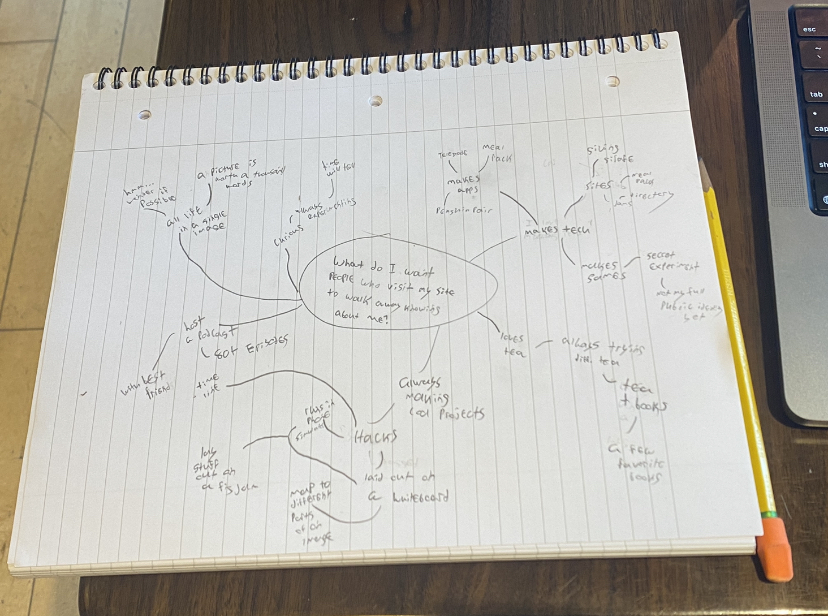
(your answers should & will be quite different than mine, and that's good) (have fun with it)
Here's a ten minute timer, good luck!
Turning Brain Dump into ~~Beautiful~~ App
You probably now have an idea in your mind for something you'd love to convey inside your site after making that Mind Map. You may also have an idea for what that app would look like (if not, take a moment to consider what you might build to achieve your desired effect on the user).
I decided to try to create an image that contains almost every element of my life and then make it interactive so the user can tap on sections of the image to learn a bit more about me. Please make an app that is totally different! This app will be your App and should not look like my App.
To begin, let's map out what a typical user experience will look like in terms of how they will flow through your App (this will vary depending on your App)
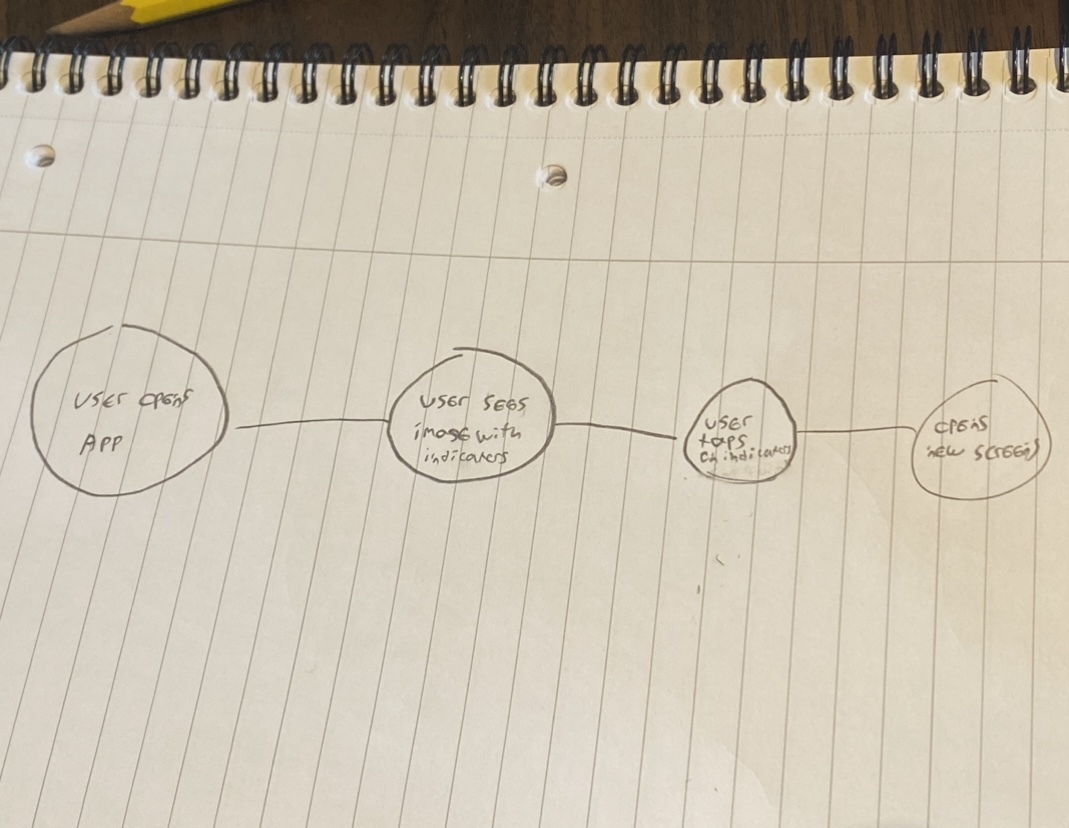
Let's create a wireframe to flesh out our ideas a bit more.
Wireframe
A wireframe is sort of a sketch of your app. You can sketch however you'd like, but the way I do it is by drawing shapes (like rectangles, circles, etc) that represent text, images, etc.
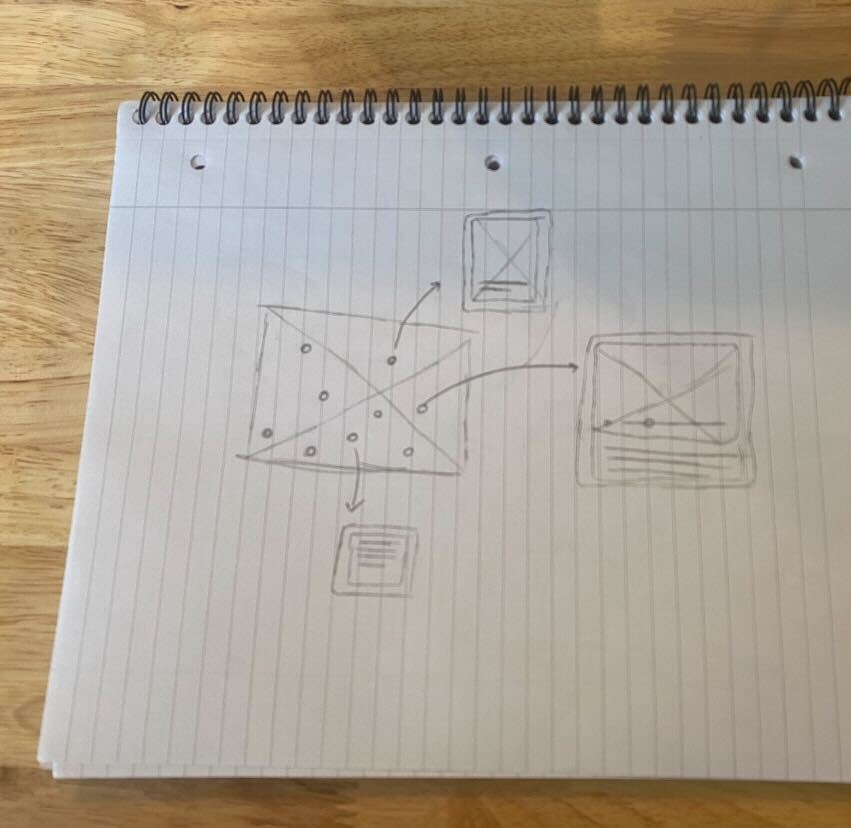
Sketches are really just for you, so do whatever you like. Just make sure you can draw them as fast as possible.
I am also going to take a moment to ideate what items I would like to include in the image. This is a higher fidelity version of the initial wireframe.
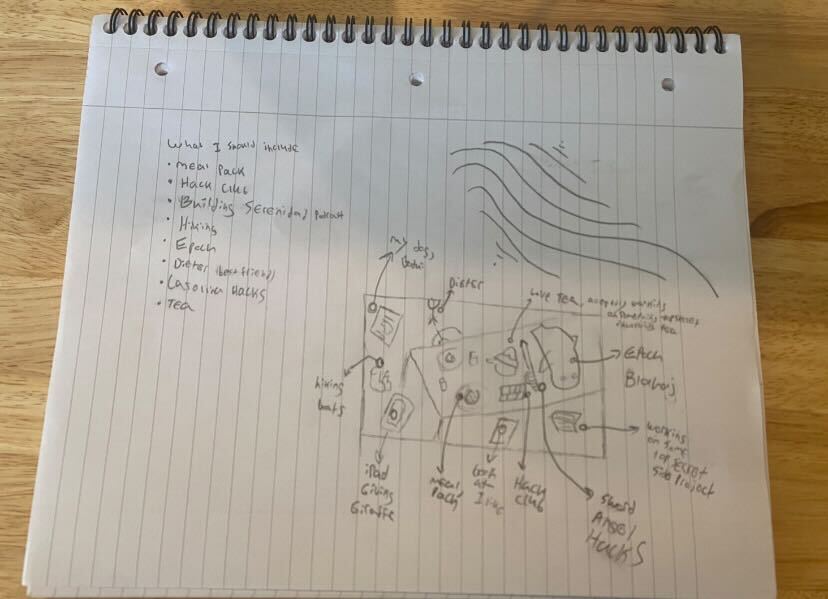
Because I am not currently at home (I am at a Cafe across from Hack Club HQ), I am going to work with a prototype image. This will also just make it much easier to build the first version & then scale from there.
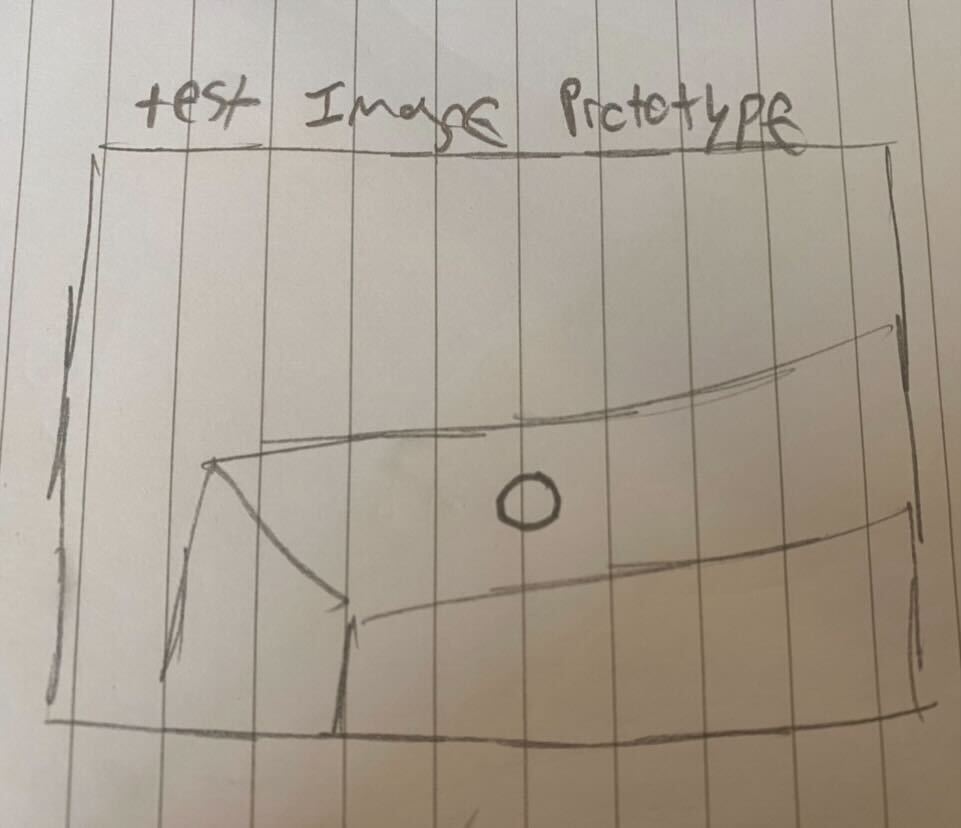
I hope your app is totally different. If your app requires a lot of content that you don't have, try making it placeholder content for the time being.
Vision Secured
Awesome, hopefully you have secured your vision for the application.
Next up, we'll be making the app icon & window (but it will be fast because of the work we did in our last Jam).
Creating App Icon
If we copy our previous icon and paste it beneath the previous icon...
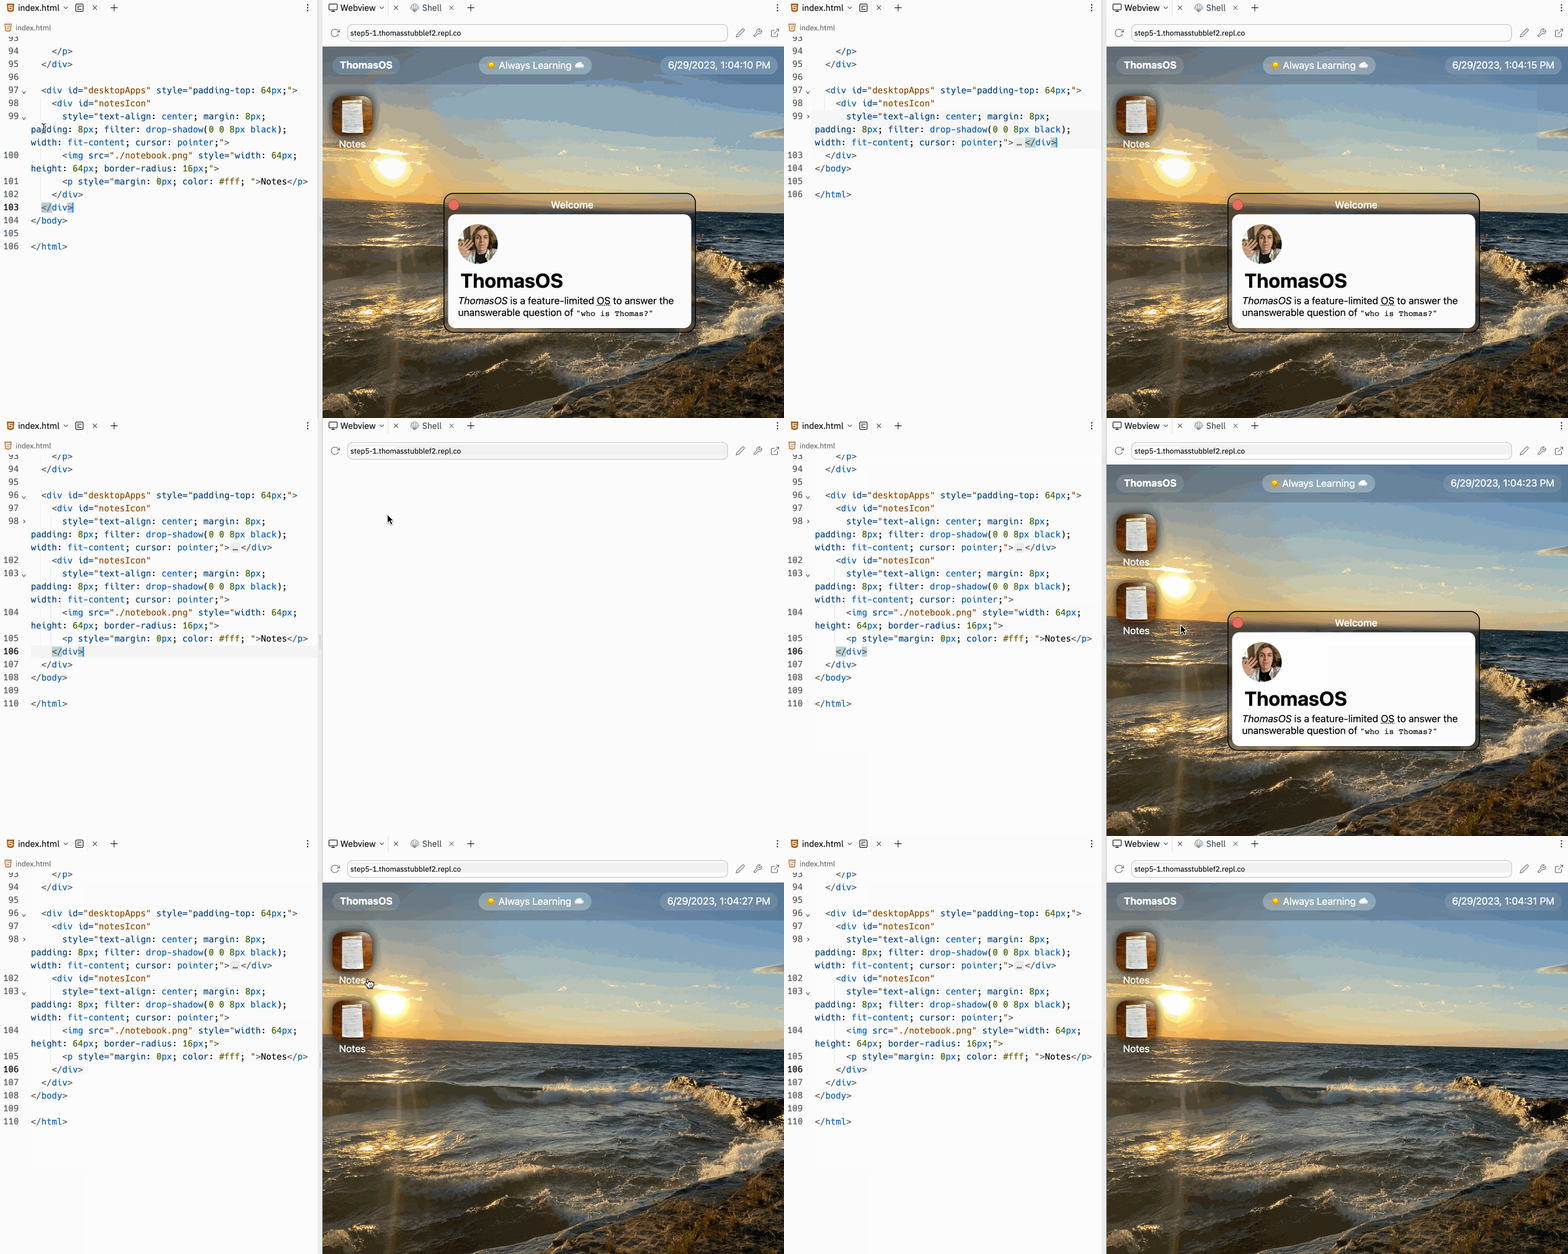
wow, that was easy! Now we have our second icon on the screen!
Let's customize it to the name & image of our app! (import an image you'd like to use as your icon) (feel free to steal an image off the internet or create your own beautiful icon (or anything in-between))
![]()
Great, but now we're not able to tap on our icon! We need to initialize the icon.
Here's our old code:
Let's try turning it into a function so we do not have to rewrite this code for our new icon. I challenge you to give it a shot!
Now if you want to be really nifty, try making it so we initialize the window, we initialize the icon too
(hint: it's only a 2-3 line change)
Creating Our App Window
Before we can initialize the window, we actually need to create it. Let's copy the code from the welcome window and then just delete the content and change the id of the application to the name of this app.
& then if in our javascript we call our initialize window function with our new app...
BOOOYAHHHH, OUR SECOND WINDOW IS LIVEEEEEEEEEEEEE!!! WE'RE FULLY SETUP!
![]()
Build Your App
Okay now for the fun part... build your app. No hand holding here, you've built an app before and I know you can do it again. I encourage you to have fun & try to make an amazing app for your personalOS!
You Built It, Congrats!
Thanks for coming along this journey. I honestly was not expecting you to make it this far. Here's what my app ended up looking like:

I hope you continue building apps for your personalOS & just generally have fun with it, but more importantly I hope you leave this batch with the urge to develop sites not just for yourself, but for other people! Building tools that help make the lives of others better is a task within reach given the fact that you made it all the way through this rigorous batch of Jams. I'm proud of you, and I hope you're proud of yourself. Have a great day, and keep Jamming!